help index
Manage Group Categories
A group category defines a class for related groups. Groups belonging to the same group category have the same semantic meaning within an organization. For example, a “Region” group category might have “East” and “West” groups. A “Location” group category might have “New York”, “Detroit”, and “Dallas” groups. A “Department” group category might have “Engineering”, “Manufacturing”, and “Shipping” groups.
Often, administrators define “group categories” that mimic their company's organizational structure but that is not a requirement. You can currently create up to four categories. A Group Category name can be up to 50 characters.
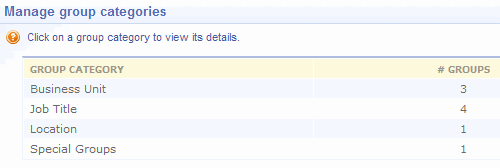
Four typical category examples are:
- Business Unit
- Location
- Job Title
- Special Groups
An unlimited number of groups can be associated with each category. Although four categories are available, use only the number of categories you need to organize a structure that works best for you and your organization.
To work with group categories, click the "Manage group categories" link in the Group Tasks box.
A listing of the group categories appears. Click on a category name to access its Detail View.
What you can do
From the Detail View:
From the Tasks Box:
Add a group
You can create groups from the Manage Categories screen if you wish. Click the Add a new group link from the “Group Tasks” box to assign a new group to a category.
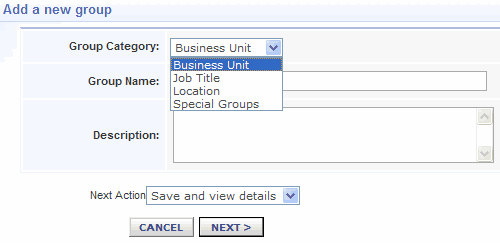
After the new goup has been created, the Group Detail View displays. From the Detail View you can add members and assignments. Click here to review the Group Detail View.
Category descriptions
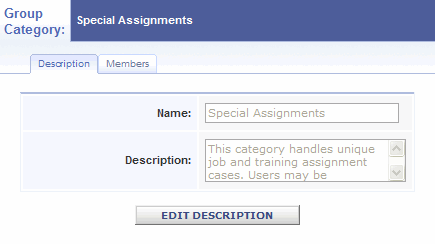
You can change the name and description of any category at any time. Click on a category name to display the Detail View for that category.
Click the "Edit Description " button to enable edit mode to make your changes.
Members
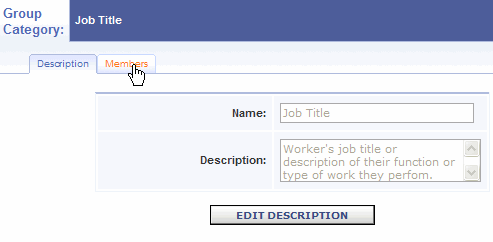
Clicking the Members tab from the Category Detail View displays a Browse View of all members of groups within the category.
Add members to category
Adding members to groups from the Categories tab rather than the Groups tabs has a strong advantage when you are adding members to a newly established category.
The advantage is realized as you browse through the listing of non-members. Your list gets smaller with each group you work on. If all users will become a member of a group within this category, you will know when everyone has been assigned membership when the list of non-members for the category empties.
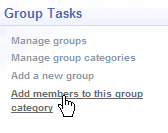
Add members to a group within this category by clicking "Add members to this group category" in the Group Tasks box.
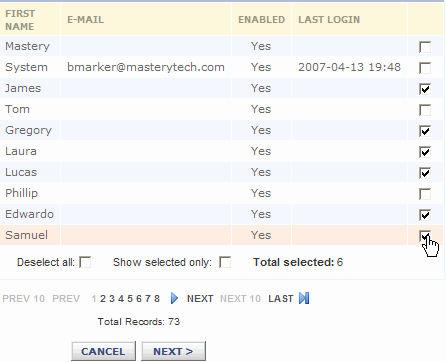
Select the mebers from the Browse View of users that is displayed. These are users who are not already members of a group in this category. Click "Next" when you have completed your selection.
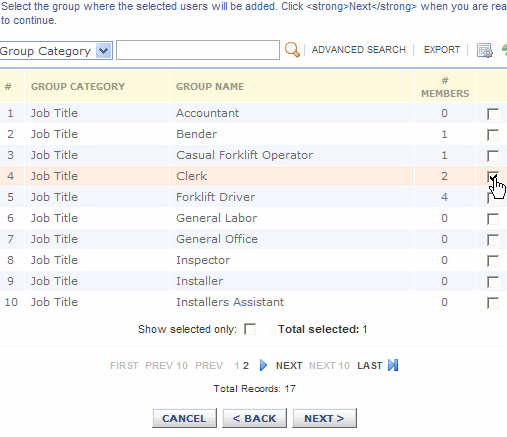
A Browse View of the groups in this category now displays. Select the group you want to add the selected members to. Then click "Next"
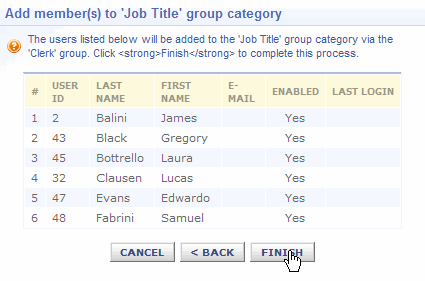
Finally, confirm your selections and cause the memberships to be created by clicking the "Finish" button on the comfirmation display.
